Behind the Scenes: Making a Very Special Couplet Ring
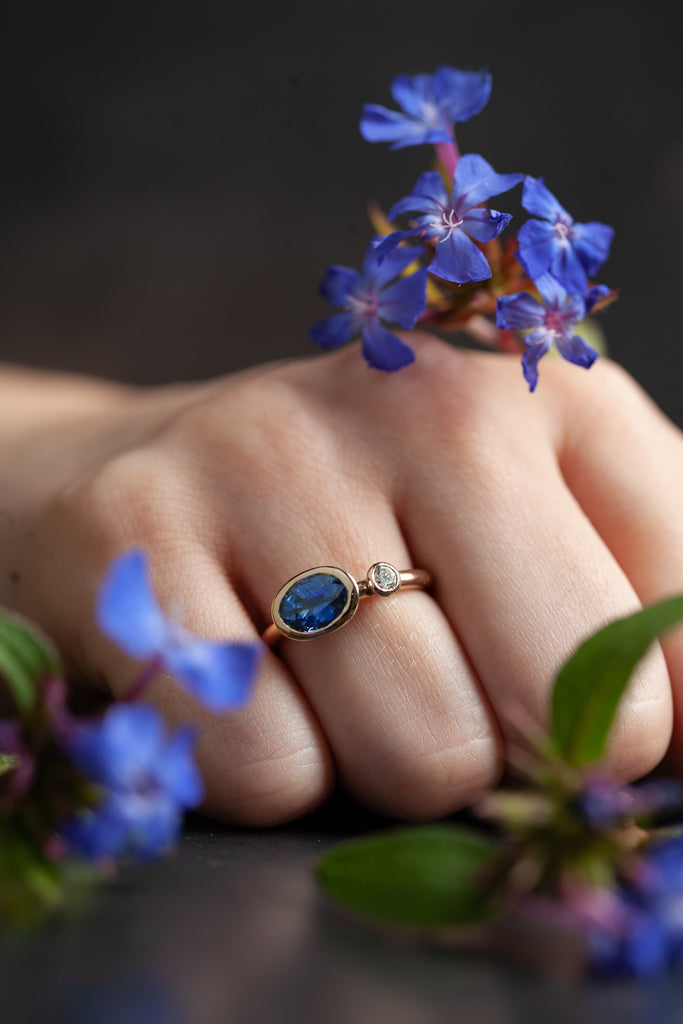 I've spent years dreaming and thinking through the perfect engagement ring or special occasion ring and finally launched my Couplet ring design a couple of years ago. To date each precious Couplet ring has been handmade and completely unique. I've enjoyed picking an exquisite stone for each one and the labour of love to make a unique setting to perfectly house each glistening stone.
This year my daughter celebrated her 21st birthday and I wanted to make her an extra special gift to mark the occasion. We talked it through and she said that what she'd really love is a Couplet ring. I thought this would be the perfect opportunity to create a master of the design to make it more affordable and accessible. Once a master is created then the ring can be cast rather than individually handmade. I can still make handmade versions to perfectly house unique stones too.
I've kept a photo diary of the process which I thought I'd share with you here.
The ring is designed so that the stones sit just high enough off the band for a wedding band to slot in next to it perfectly.

To start with I wound 2mm wire round my mandle to make the shank for the master ring.
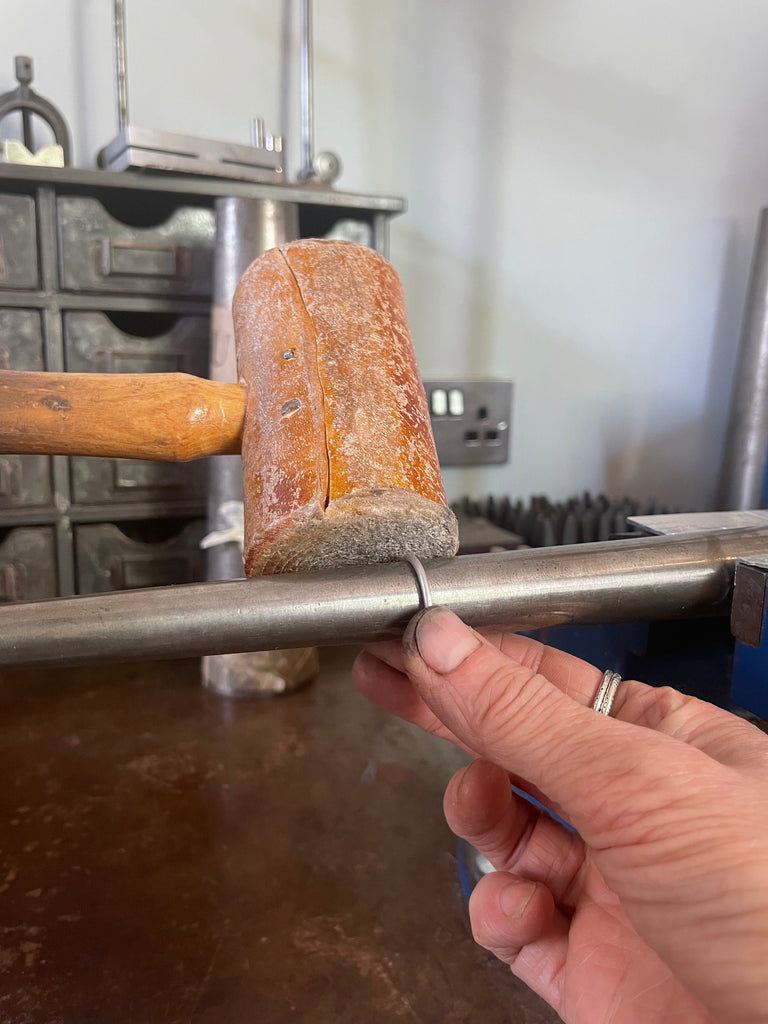
Next I hammered the wire into a circle.
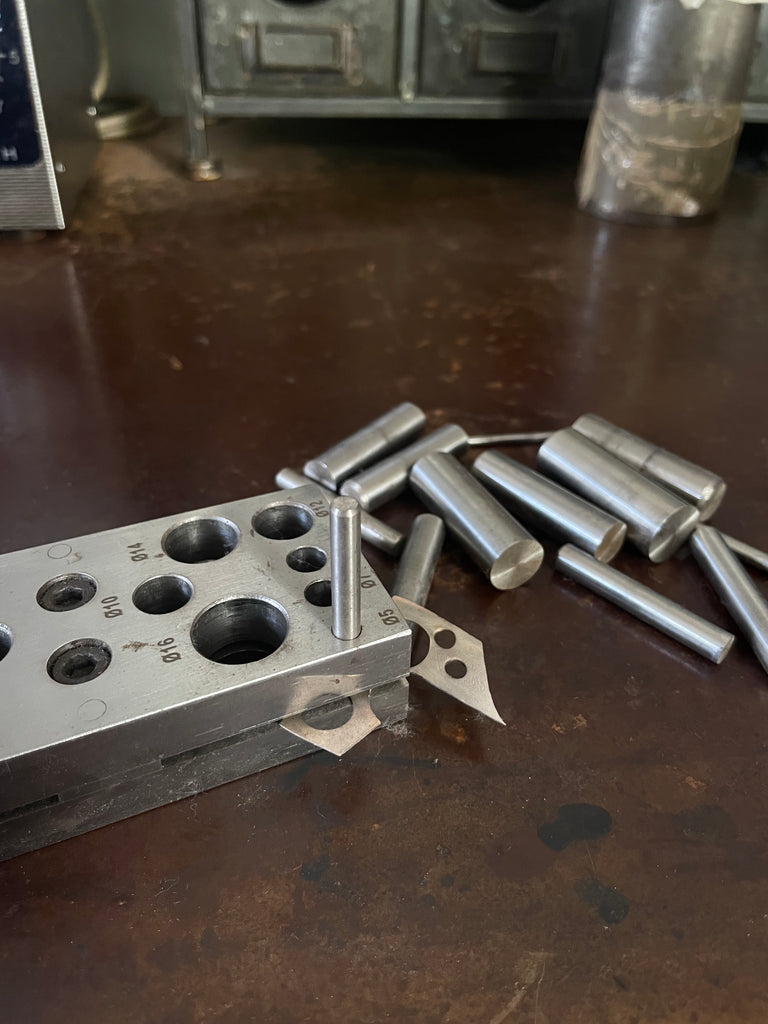
Here I used my set of punches to stamp out the disk for the small diamond cup setting.
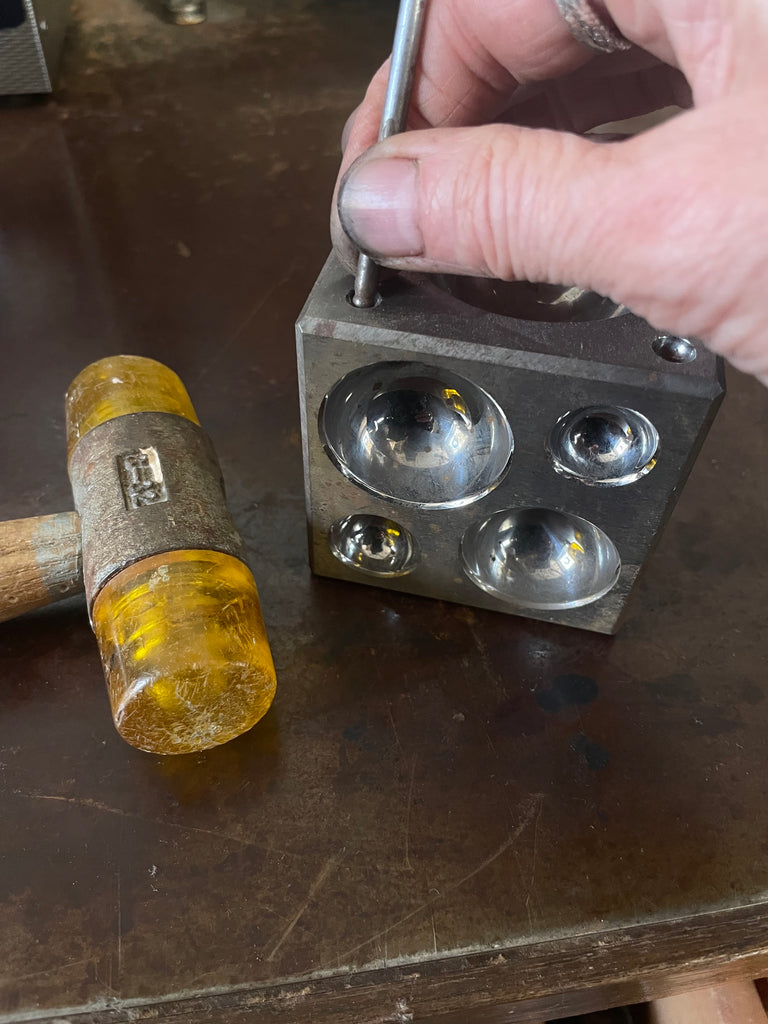
These are the punches I used to make the cup setting for the diamond.
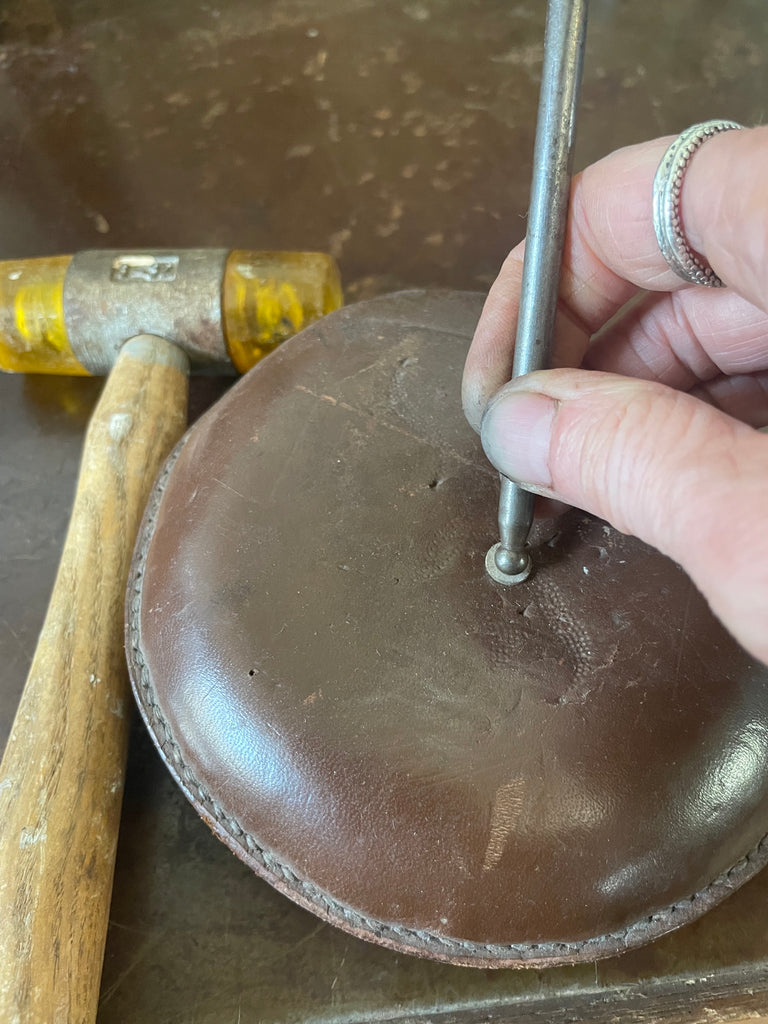
Next I made the disc for the larger stone by Repuse punching on a leather sandbag to to make the oval couplet.
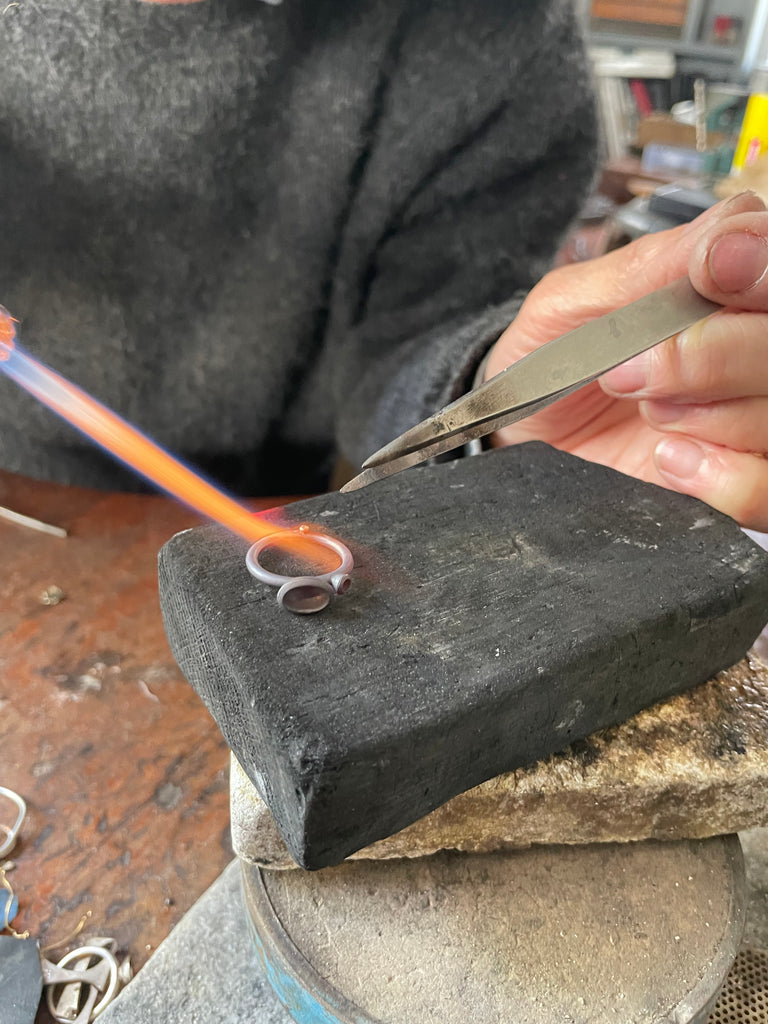
After that I soldered the two settings onto the ring.
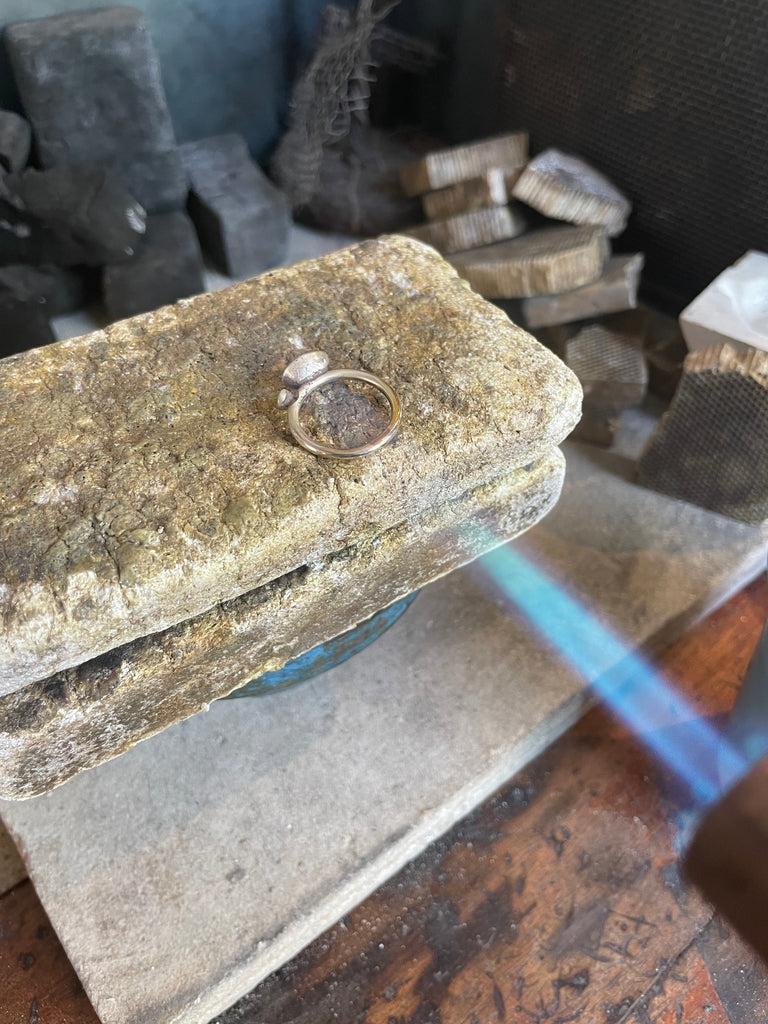
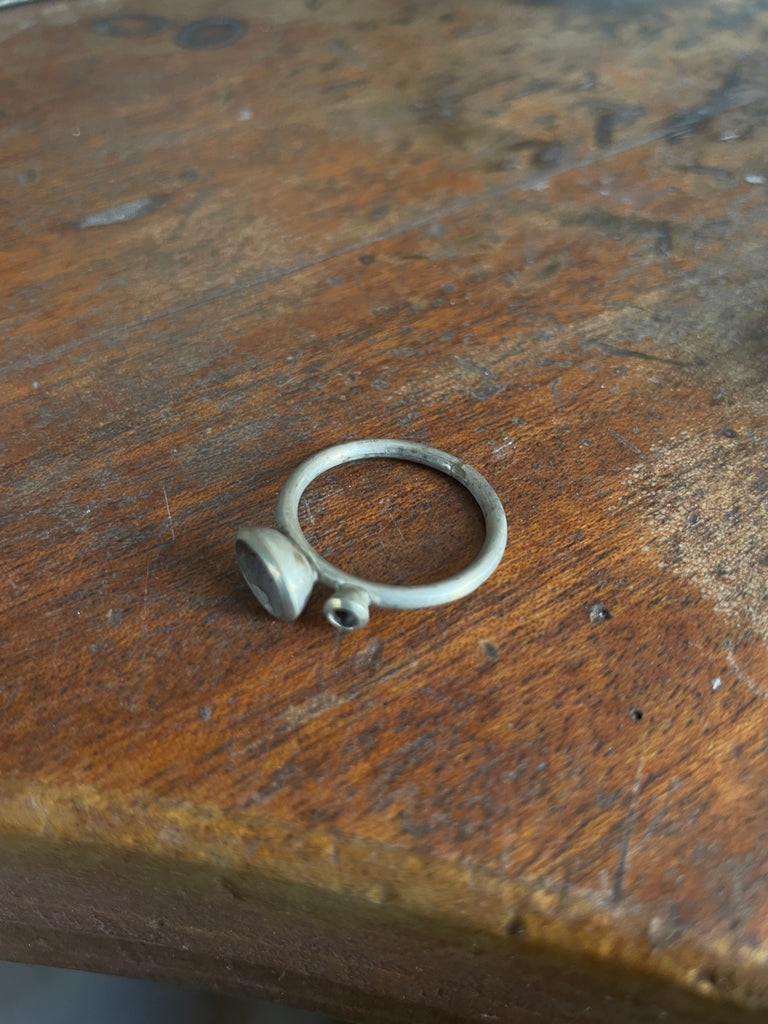
This is the finished sample master for the couplet ring which I then sent to the caster to create the master mould.
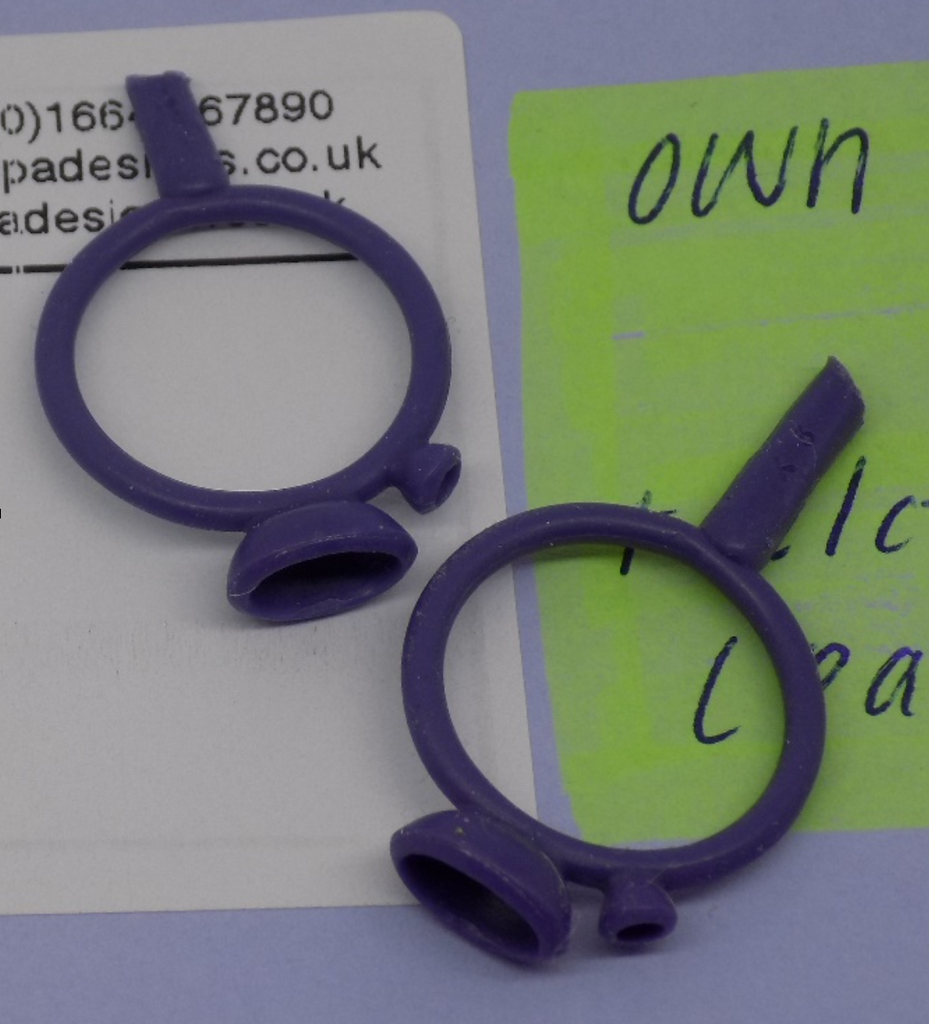
Once the master mould has been made my caster sends me a wax sample, made using the new mould, to check.

I gathered a collection of old gold scrap which I'd built up over some time - it included some of my granny's old jewellery, my teenage jewellery and bits from a bracelet that I don't wear any more.
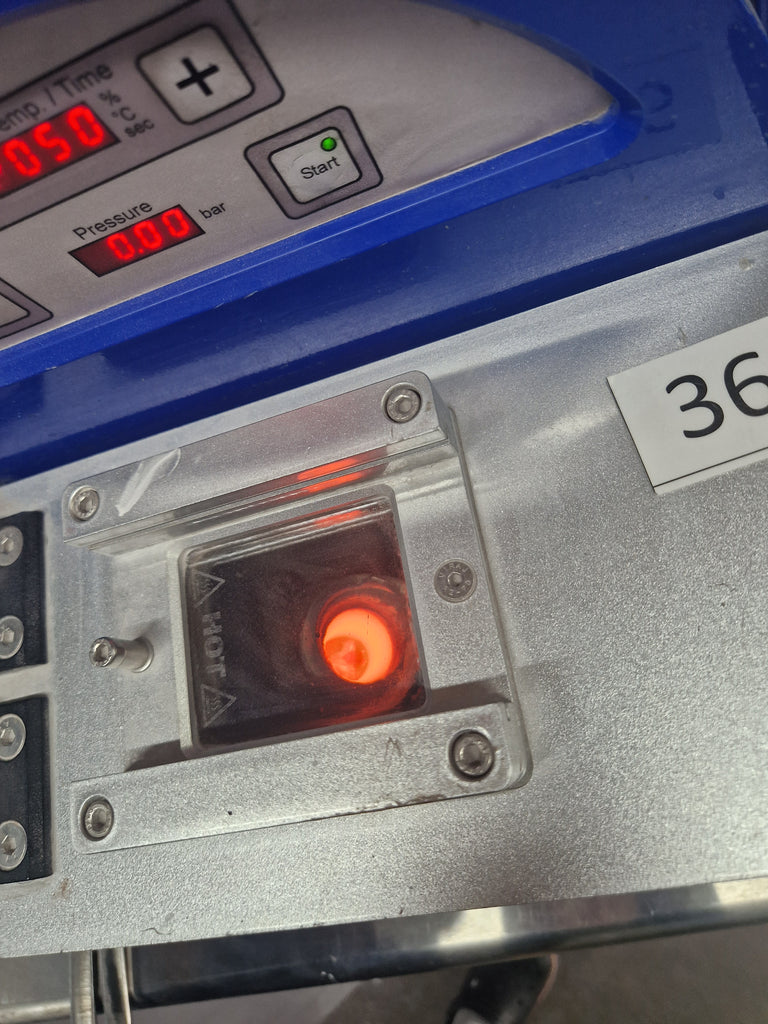
Here's the machine which was used to cast the ring.
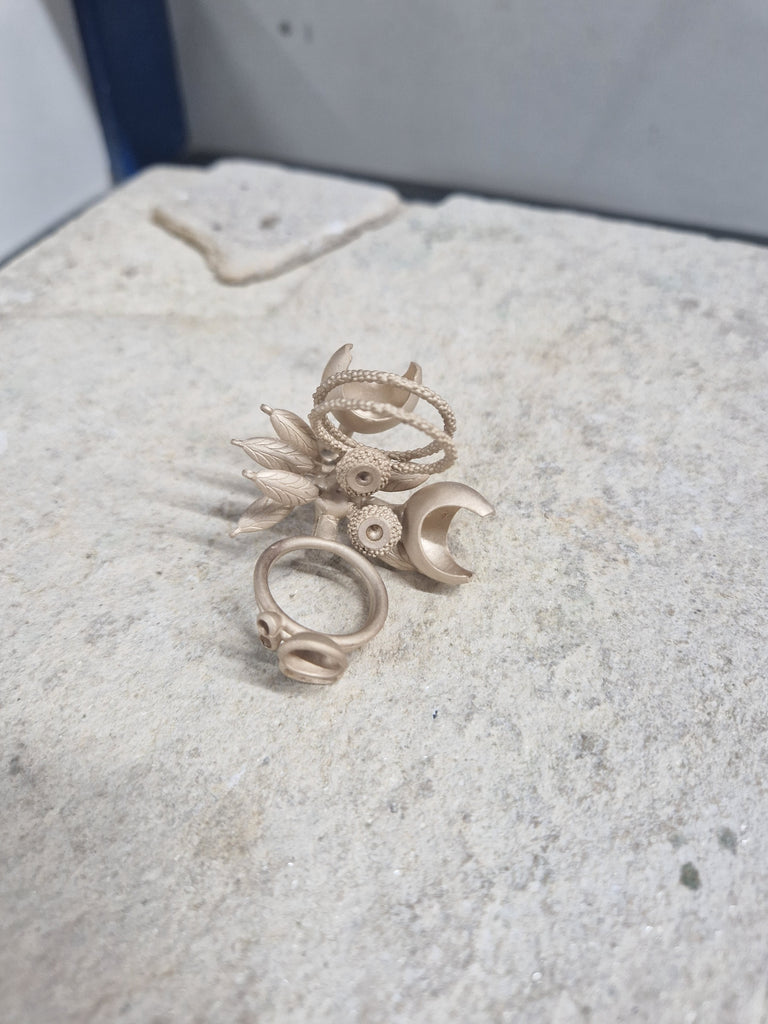 Bingo! Here's how the casting came out. I wanted to fill the cast as it's more economical so I added some Starwars Cup Earrings and bits and pieces of the future including a gold Tiny Bee Pendant I'm going to make for myself.

Here's the freshly cast ring.
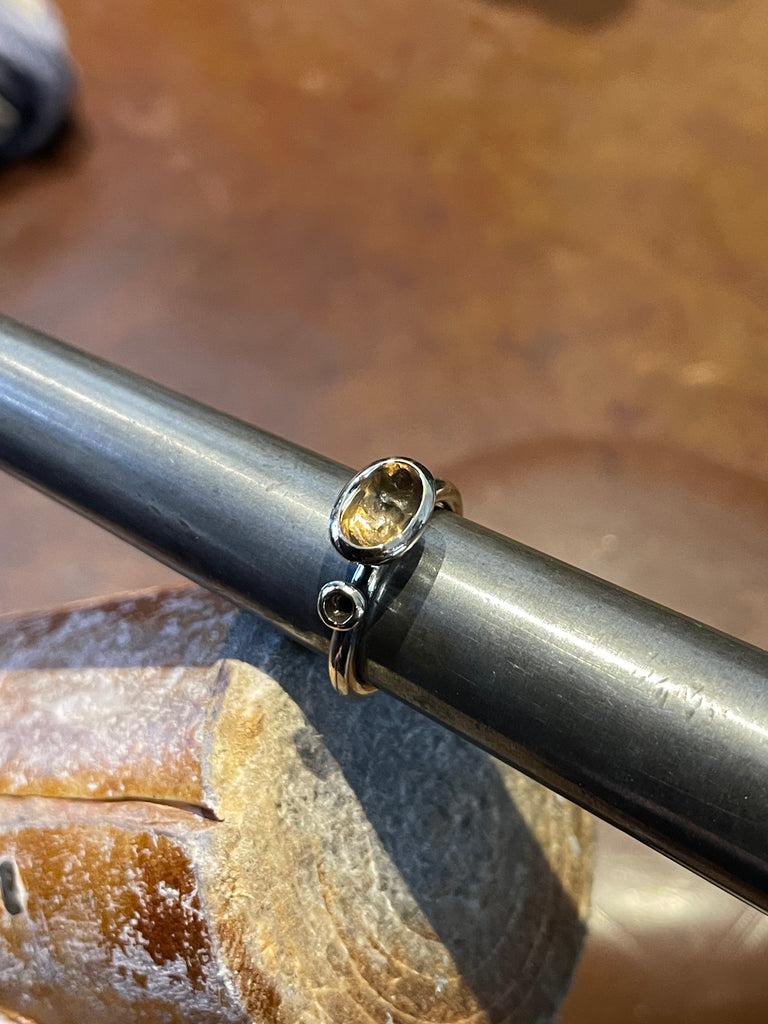
Next I carefully cleaned and polished the casting.
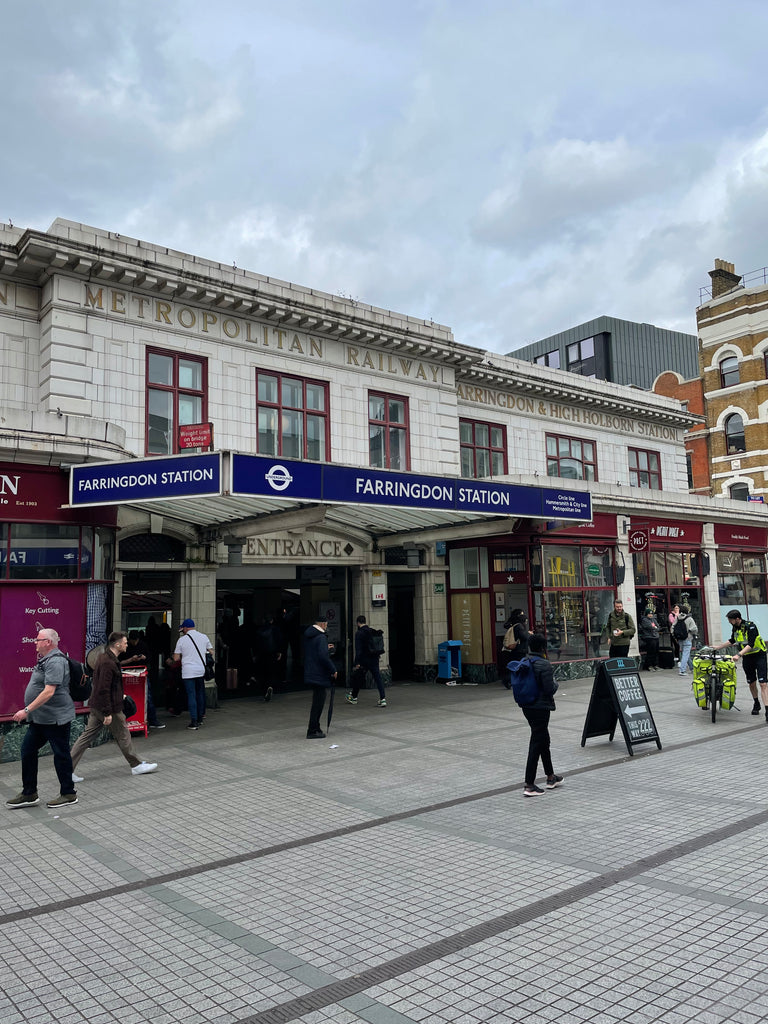
To choose the stone I went to Hatton Gardens in London Farringdon.
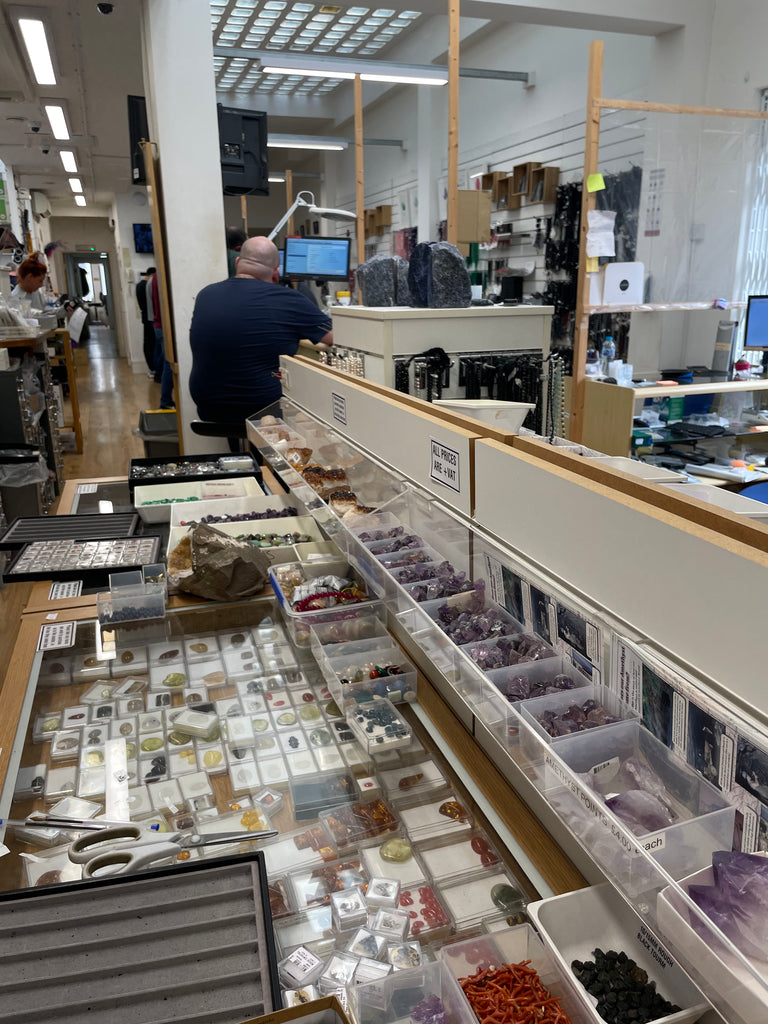
There's so much choice.
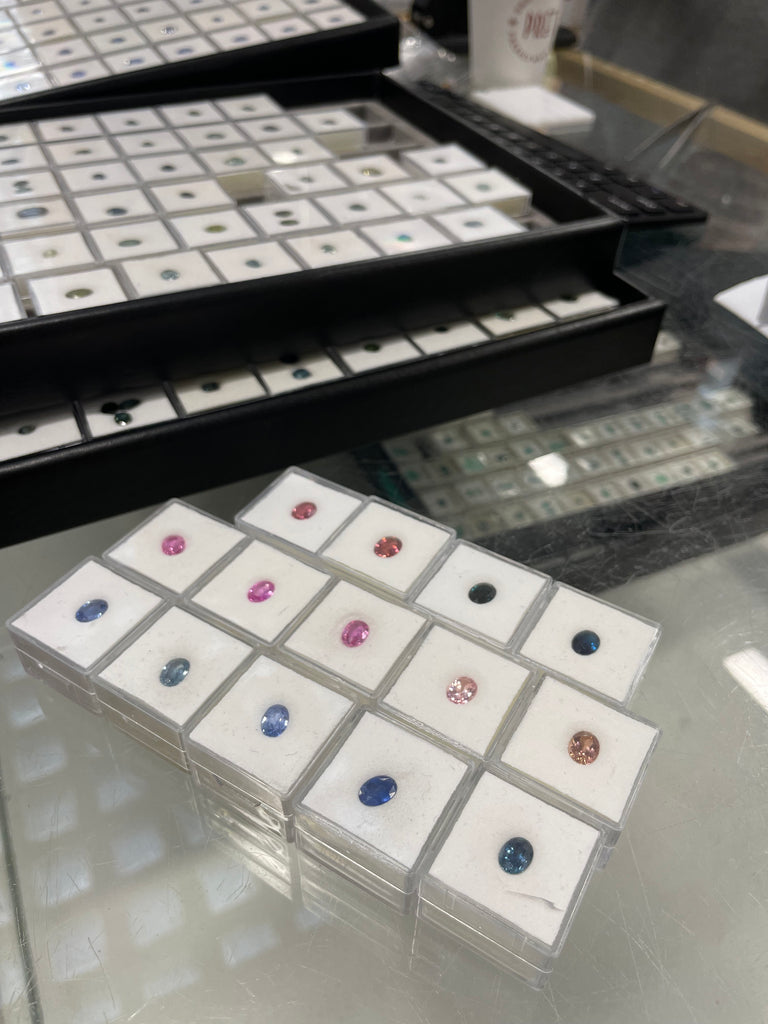
I chose a selection that I thought could work: five blue sapphires; five pink sapphires; a pink tourmaline and a blue tourmaline. I took the selection of stones back home to consider and discuss with my daughter.
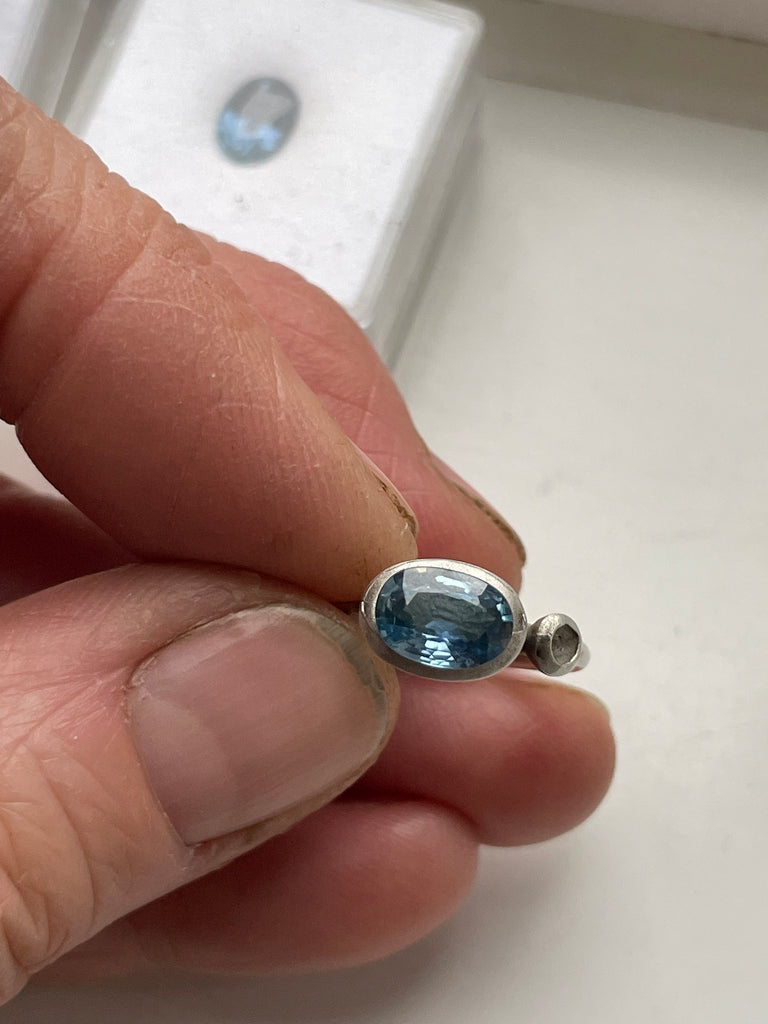
Here's the stones we chose - a glistening blue sapphire and a diamond. We looked at the distribution of colour within the stone, the tone of colour and how the colours work together to make the choice.

Next I took the ring and the stone to my specialist stone setter.
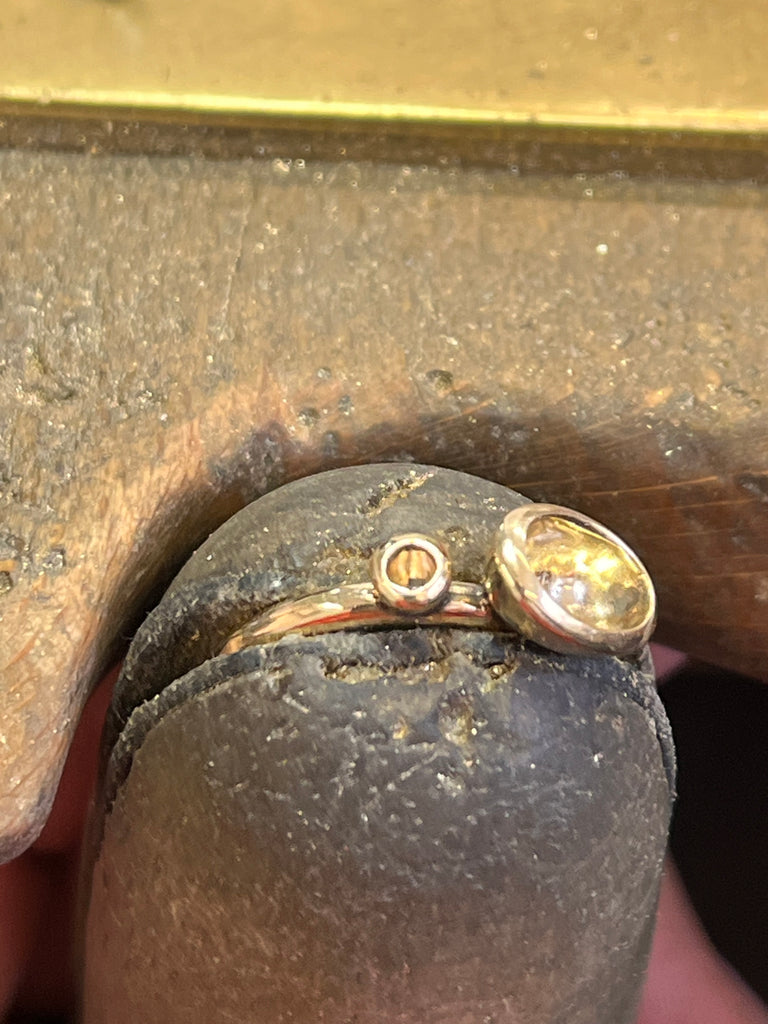
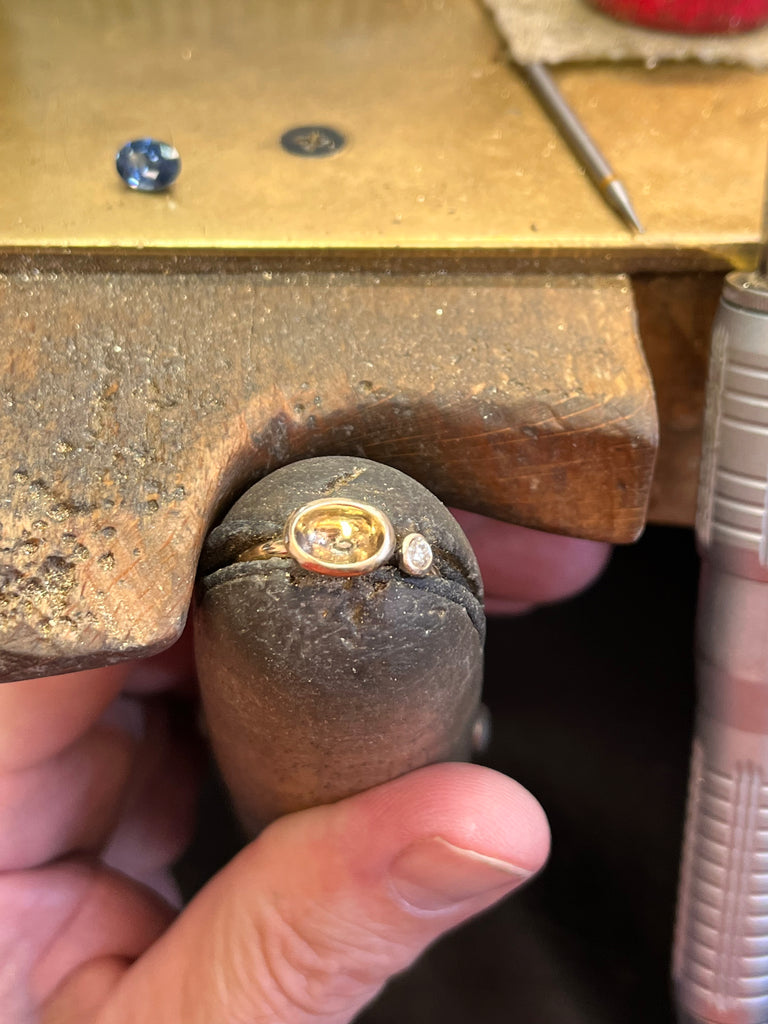
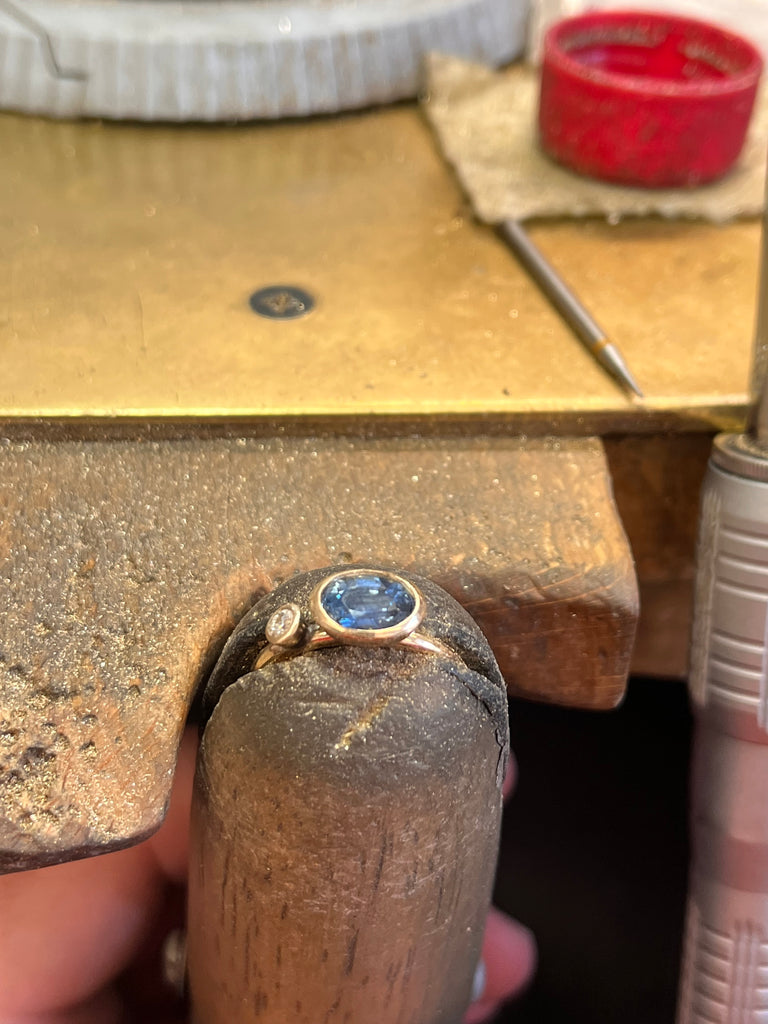
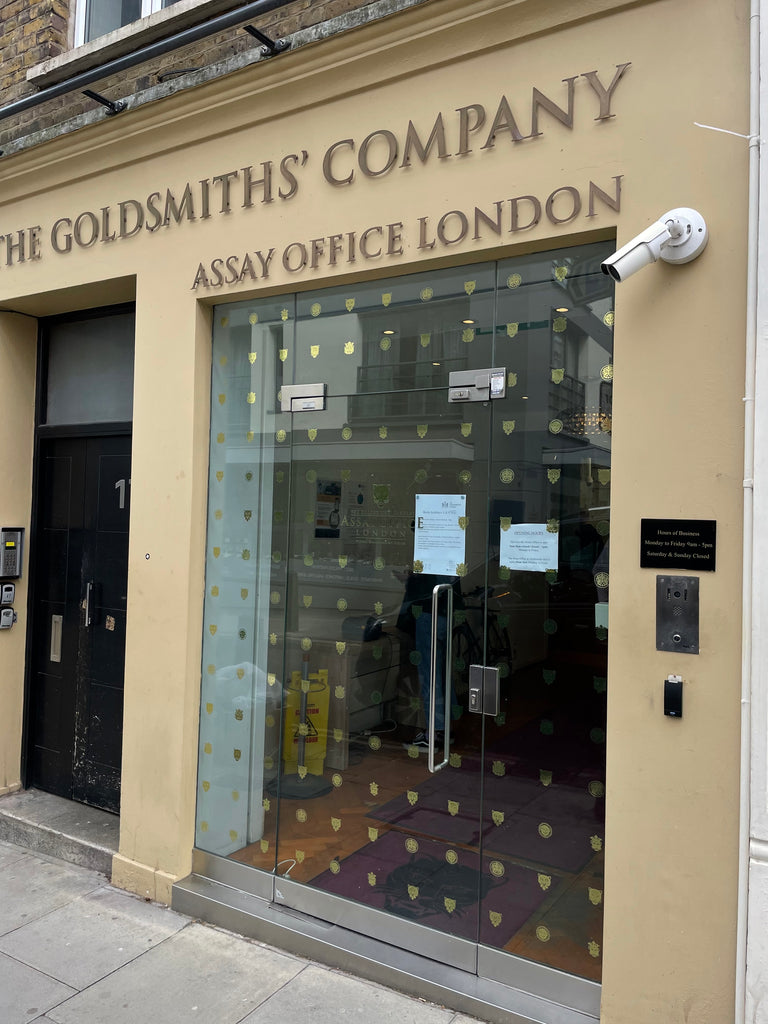
The final step was a visit to the Assay Office in London to have my personalised hallmark added.
My daughter was thrilled with the ring and it's been such a pleasure to see it bring so much joy. I hope it's a gift that she'll treasure for years to come and possibly even hand over to future generations.
 Here's the finished ring. To shop my range of special occasion and engagement rings click here. If you'd like to discuss commissioning a unique ring or engagement ring, click here to get in touch.
